Introduction
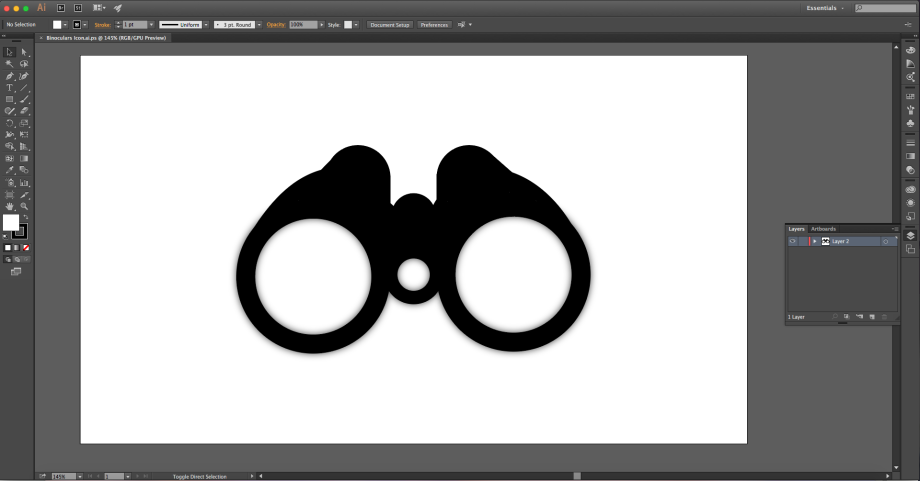
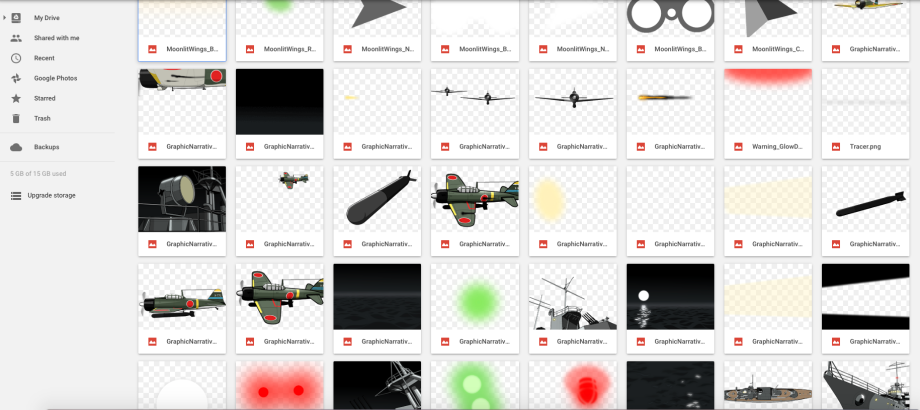
Due to various technical and time limitations/difficulties, I have been unable to create Moonlit Wings as an interactive webcomic. I have however been able to create an effective simulation of what it could look like as an interactive executable. Regarding vector-based images, Adobe After Effects does not support vectors, so the images I made in Adobe Illustrator I had to convert to PNG.
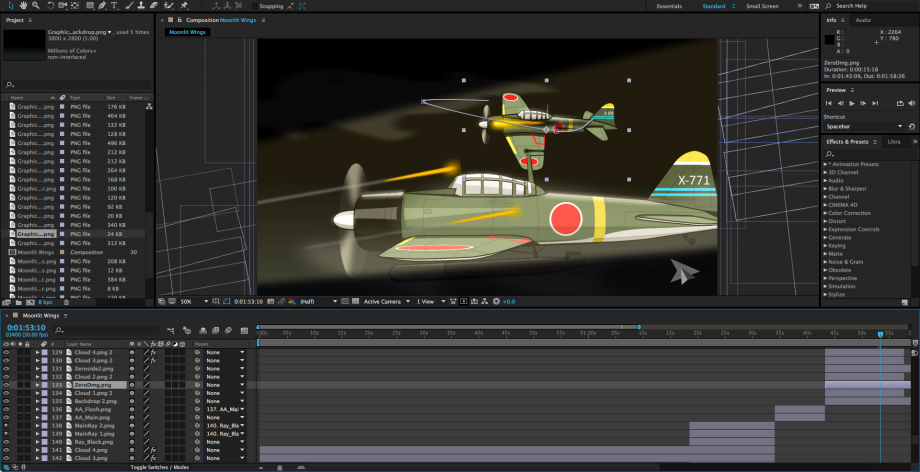
The finished product, representing what an interactive webcomic of Moonlit Wings could look like. If we are grading this on simply an interactive/animated version of the original webcomic, I’d call it a success.
Aesthetic Qualities
I had designed the original webcomic around it’s use as an interactive piece, so everything worked well together. I just ripped the original assets from the comic and compiled them separately.
However, being so accurate to the original it inherits the same problems.
Again, the graphics were certainly the strongest part without a doubt. Like the vast majority of my work, I put a disproportionate amount of effort in when it comes to making things look visually appealing, and it’s only augmented by the use of animation. As far as the animation itself is concerned, it’s very simple and I feel that it mirrors the art style itself.
Technical Qualities
All of the animation was created using basic keyframes, and then smoothing them to provide more organic movement.
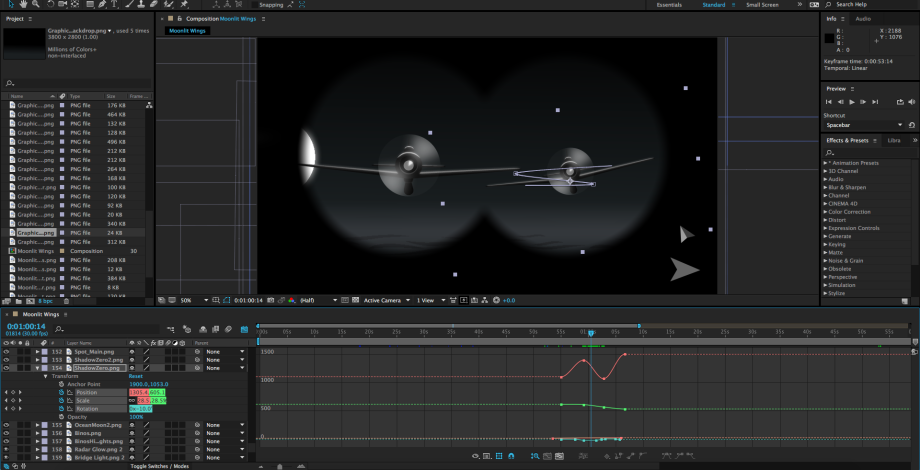
For the glowing elements of the animation, I simply overlayed a separate PNG and adjusted the opacity with keyframes. I used this effect on the radar, mast lights and red alert light.
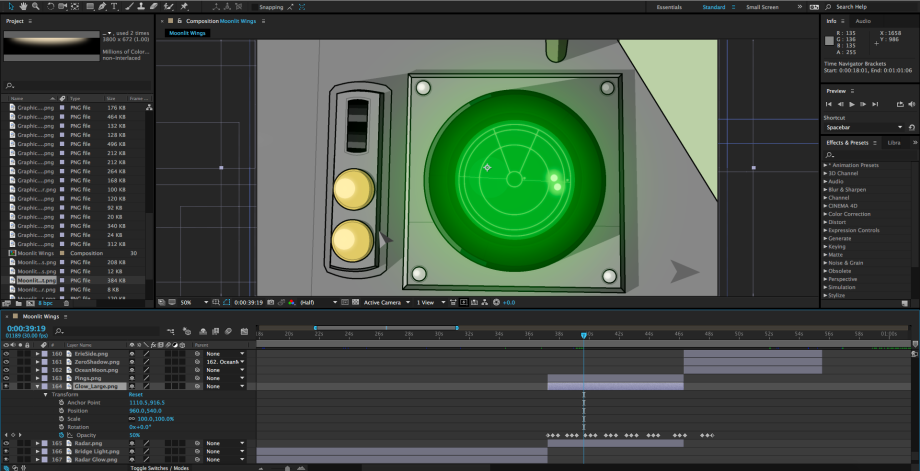
All of the animated parts in the video are created using these simple techniques. Overall, I found the whole process simple but time consuming and tedious. In the end though I got the desired result.
The final animation was exported as H.264 in MP4 using Adobe Media Encoder, with the preset set to Youtube 1080p. Creating the animation in 30 fps HD gave it a silky smooth look and everything transitioned well. I was going to include some sound effects to really help immerse the viewer, but I ended up having no time at all.
Time Management & Workflow
Time management for this project was absolutely atrocious. I spent most of the time trying to learn Fungus, only to learn a few weeks before the end of the module that it wasn’t necessary and I was forced to use after effects instead. This basically rendered all the time I’d spent learning the basics of Fungus void completely, and given me little to no time at all to get back into the swing of After Effects.
It was a disaster and a huge panic, but I managed to get everything out on time. And I’m actually pretty satisfied with the result, there isn’t much more I think I could have done given the time I had.
Conclusion
At the end of the day, It’s a good concept. But that’s all it really is, a concept. If I were more competent at Fungus I probably could have created something interactive, but not nearly as to the same level of polish I achieved in After Effects.
I’m satisfied that it stays as true as possible to the original source material while adding some extra flair and immersion with the animations.
